

The Best Easy Peanut Butter Cookies You’ll Ever Make
There is something truly magical about the smell of peanut butter baking in the oven. It instantly takes me back to my grandmother’s kitchen, standing on a little wooden stool, waiting impatiently for the timer to go off. We all have those days when a sudden sweet craving hits, but the thought of pulling out a stand mixer, measuring out a dozen different ingredients, and waiting for butter to soften feels like way too much work. That is exactly when I turn to these easy peanut butter cookies.
They are my absolute go-to recipe for last-minute get-togethers, late-night snack emergencies, or just a cozy Sunday afternoon at home. You don’t need any fancy equipment, and honestly, you probably already have everything you need sitting in your pantry right now. I’ve shared this recipe with countless friends over the years, and it never fails to become a staple in their homes, too. Grab your favorite mixing bowl, and let’s make some magic happen.
What Are Easy Peanut Butter Cookies?
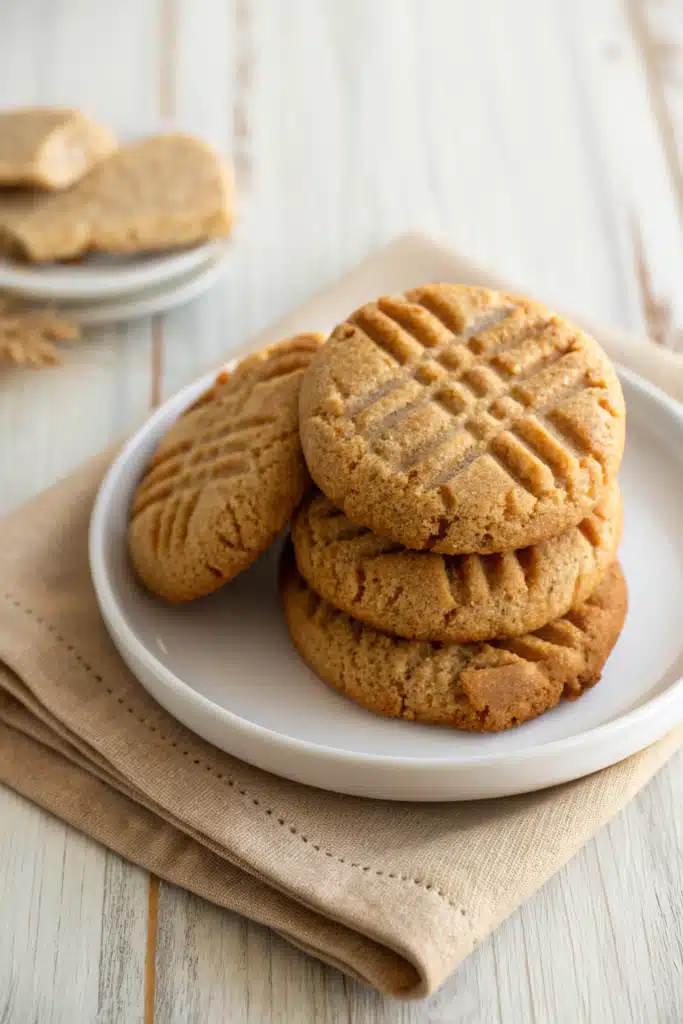
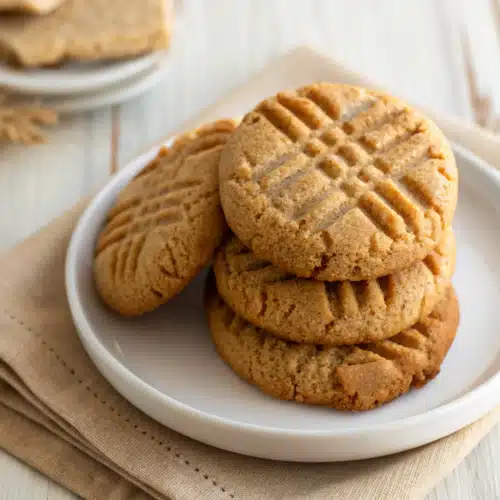
So, what exactly are easy peanut butter cookies? If you grew up in North America, you probably recognize them instantly by their signature crosshatch pattern on top. But this specific recipe strips away the fuss of traditional baking. Instead of a long list of dry and wet ingredients, this is a streamlined, naturally gluten-free version that relies on the magic of the peanut butter itself to provide the fat, flavor, and structure all at once.
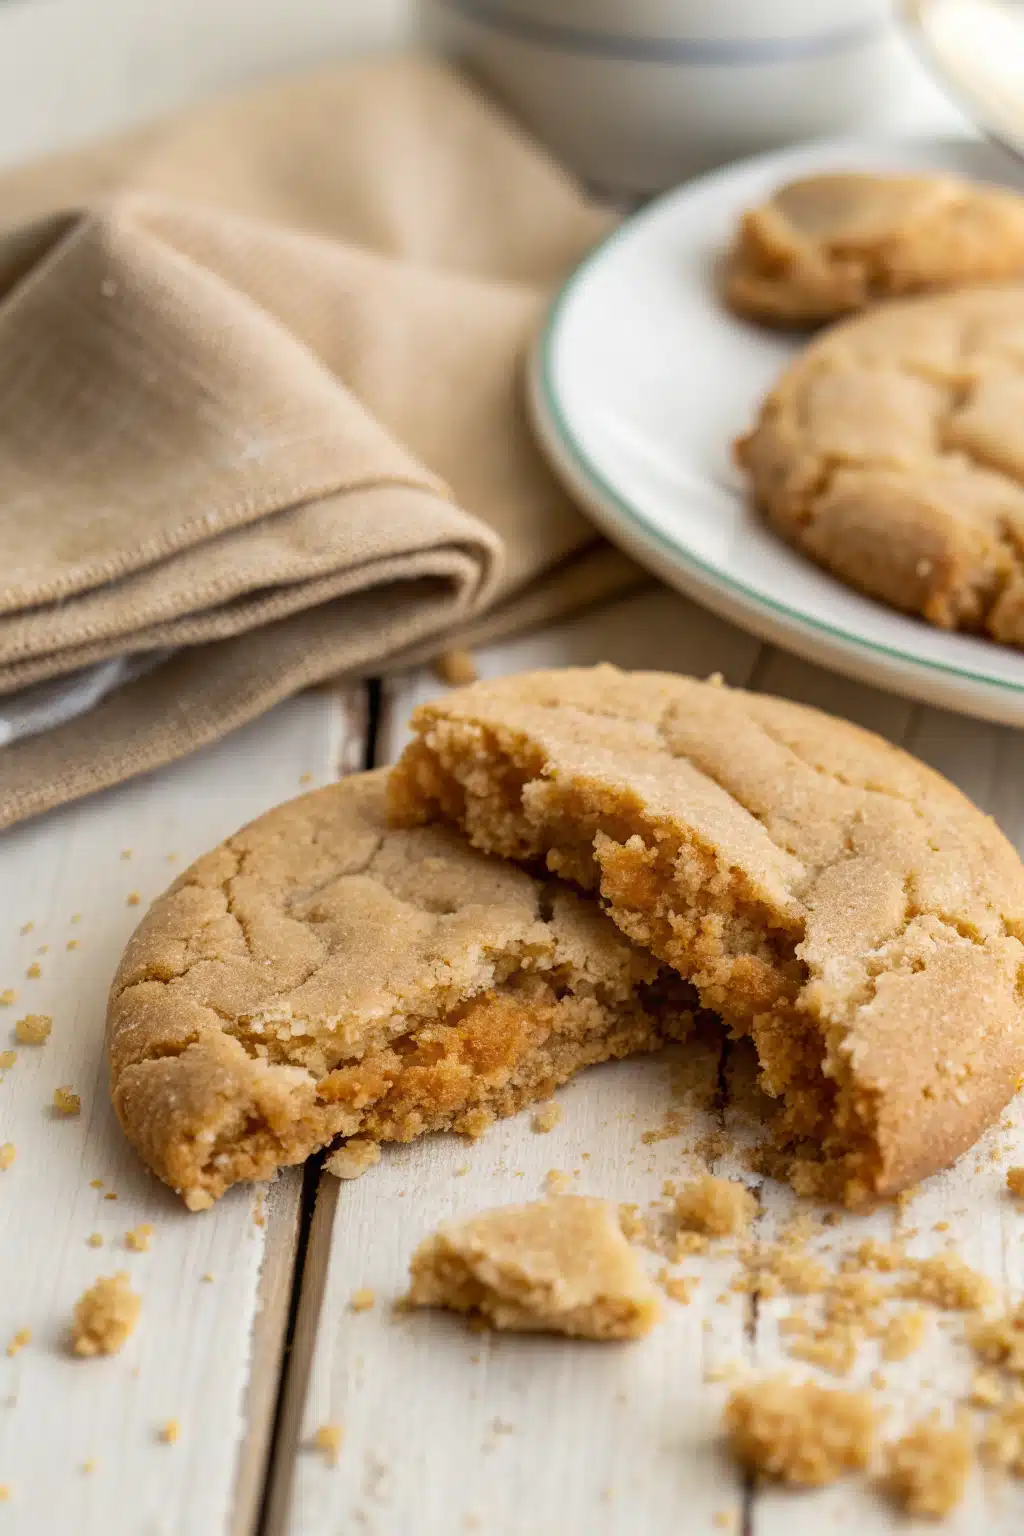
By combining just a few basic pantry staples, you create a dough that bakes up remarkably soft, chewy, and bursting with rich, nutty flavor. They are dense in the best way possible, melting in your mouth with every single bite. Unlike store-bought cookies that can be dry and crumbly, these homemade gems stay incredibly tender. They are the ultimate comfort food, simplified for modern, busy lives without sacrificing a single ounce of that nostalgic, old-fashioned taste we all know and love.
How to Make Easy Peanut Butter Cookies
Quick Overview
Making these easy peanut butter cookies is practically foolproof. We are going to start by gathering our few ingredients and preheating the oven so it is perfectly hot and ready to go. You will simply dump your peanut butter, sugar, egg, and a splash of vanilla into a bowl and stir until it forms a thick, cohesive dough. From there, it is just a matter of rolling the dough into little balls, placing them on your baking sheet, and pressing them down with a fork to create that classic, beautiful crisscross pattern. They bake for just a few minutes until the edges are set. The hardest part of this entire process is honestly just waiting for them to cool down enough so you don’t burn your tongue on the first bite!
Ingredients
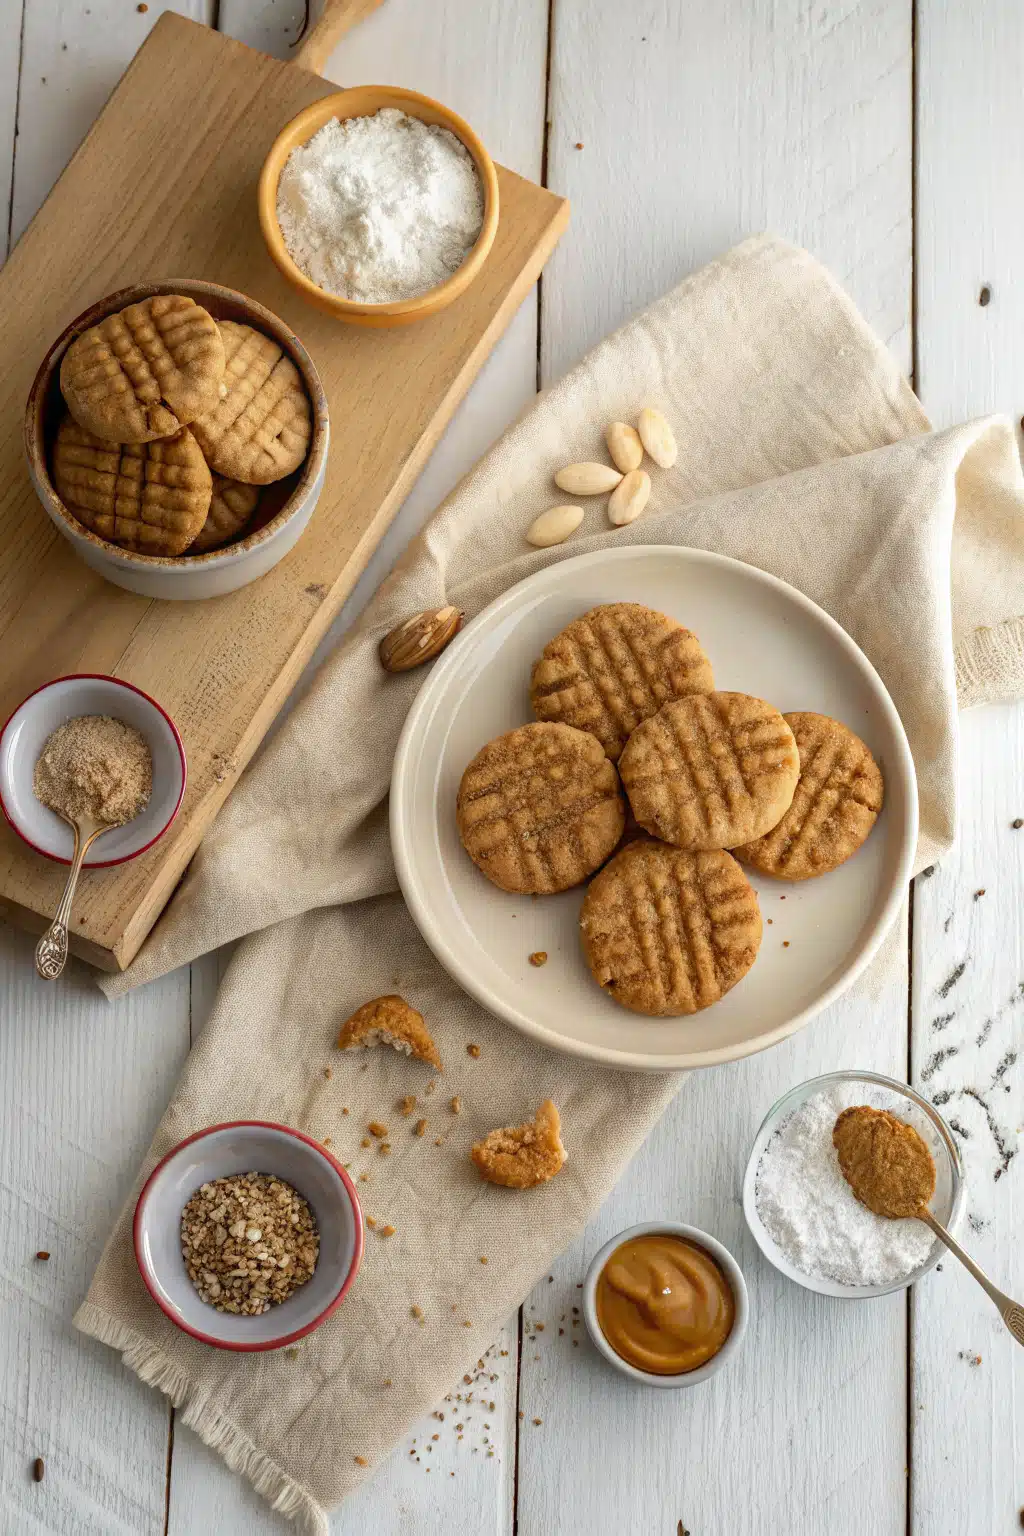
Here is everything you will need to pull these together. I bet you have most of this in your kitchen already!
- 1 cup creamy peanut butter: Stick to standard commercial brands for the best texture.
- 1 cup granulated sugar: You can also use half white sugar and half brown sugar for extra chewiness.
- 1 large egg: This binds everything together.
- 1 teaspoon vanilla extract: A little splash enhances all the flavors.
- A pinch of flaky sea salt: To balance out the sweetness perfectly.
Step-by-Step Instructions
Step 1: Preheat & Prep Pan
First things first, preheat your oven to 350 degrees Fahrenheit (175 degrees Celsius). Grab a large baking sheet and line it with a piece of parchment paper or a silicone baking mat. This ensures your cookies won’t stick and makes cleanup an absolute breeze.
Step 2: Mix the Dough
In a medium-sized mixing bowl, combine your creamy peanut butter, sugar, egg, vanilla extract, and that little pinch of salt. Grab a sturdy wooden spoon or a spatula and mix everything together. At first, it might seem like it won’t come together, but keep stirring! After about a minute, it will form a thick, soft dough.
Step 3: Roll & Press
Scoop out about one tablespoon of dough at a time and roll it between your palms to form a smooth ball. Place the balls onto your prepared baking sheet, leaving about two inches of space between them. Now for the fun part: take a regular dinner fork and press down gently on each dough ball, first in one direction, and then in the opposite direction to create that classic crosshatch pattern.
Step 4: Bake & Cool
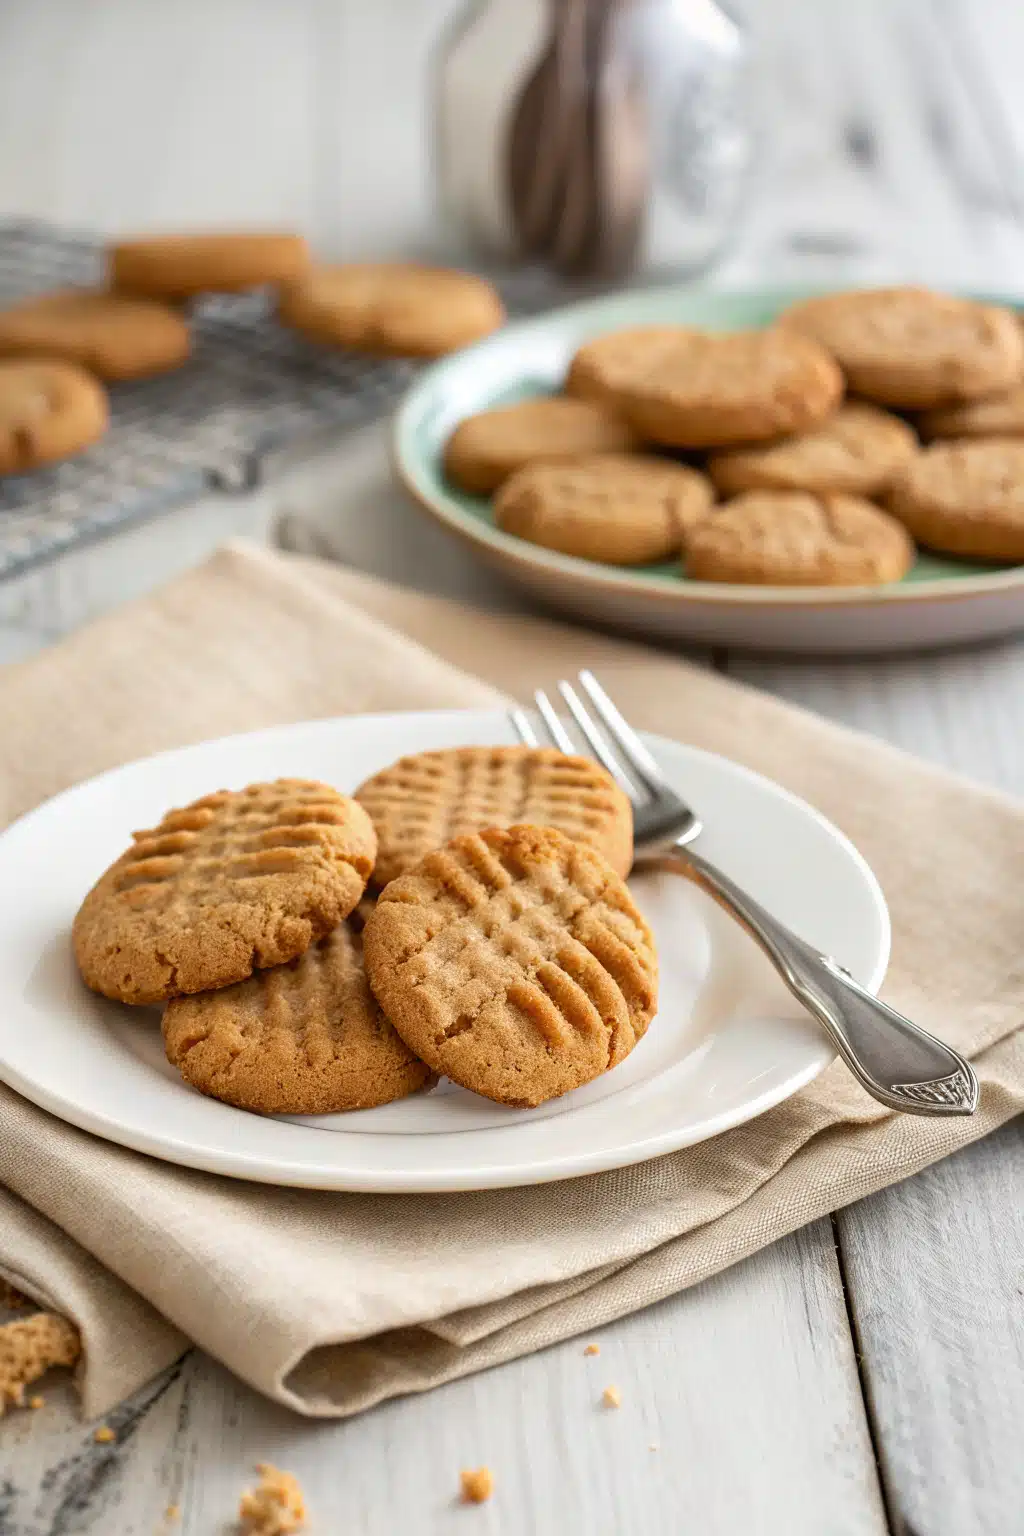
Slide the baking sheet into the oven and bake for 10 to 12 minutes. You want to take them out when the edges are just starting to turn golden brown, even if the centers still look a little soft. Let the cookies sit on the hot baking sheet for exactly 5 minutes to firm up before transferring them to a wire rack to cool completely.
What to Serve It With
You honestly can’t go wrong eating these straight off the cooling rack, but if you want to elevate the experience, I highly recommend serving them with an ice-cold glass of milk. The richness of the peanut butter pairs so beautifully with it. If you are feeling a little decadent, grab a scoop of premium vanilla bean ice cream and sandwich it between two cooled cookies for a homemade ice cream sandwich. They are also absolutely wonderful alongside a hot cup of black coffee or your favorite afternoon tea for a cozy midday pick-me-up.
Top Tips for Perfecting Your Easy Peanut Butter Cookies
Even though this recipe is incredibly simple, I’ve picked up a few tricks over the years to make sure they turn out flawlessly.
- Use standard peanut butter: Brands like Jif or Skippy work best here. While natural, drippy peanut butter is great for toast, the oil separation can make this specific cookie dough a bit too crumbly and unpredictable.
- Don’t overbake: They will look super soft and slightly underdone when you pull them out of the oven. Trust the process! They will continue to set up on the hot baking sheet as they cool.
- Chill if needed: If your kitchen is very warm and the dough feels a little too sticky to roll, just pop the bowl in the fridge for about ten to fifteen minutes to firm it up.
- The sugar trick: Dip your fork in a little bit of granulated sugar before pressing the crosshatch pattern into the cookies. It stops the fork from sticking to the dough and adds a beautiful, sparkly crunch to the top of the baked cookie.
Storing and Reheating Tips
These cookies store beautifully, which makes them perfect for making ahead of time. Keep them in an airtight container at room temperature, and they will stay wonderfully soft and fresh for up to five days. If you want to keep them longer, you can freeze the baked cookies in a freezer-safe zip-top bag for up to three months.
You can also freeze the raw dough balls! Just roll them, press the fork pattern, and freeze them flat on a baking sheet before transferring them to a bag. When you are ready for a treat, just bake them straight from frozen, adding an extra minute or two to the baking time. To get that fresh-out-of-the-oven vibe from a room-temperature cookie, pop it in the microwave for about five to eight seconds before eating. It melts the peanut butter just enough to make it taste like it was just baked.
Frequently Asked Questions
Final Thoughts
There you have it, my friend—the absolute best, most foolproof recipe for easy peanut butter cookies. I really hope these bring as much joy to your kitchen as they have to mine over the years. Baking doesn’t always have to be a messy, all-day affair that leaves you exhausted. Sometimes, the simplest recipes, made with just a handful of basic ingredients and a whole lot of love, are the ones that create the best memories.
Whether you are whipping these up for a school bake sale, a holiday cookie exchange, or just to satisfy a Tuesday night craving, I know you are going to love them. If you try these out, please let me know how they turned out for you! Happy baking, and enjoy every single peanut buttery bite.
Easy Peanut Butter Cookie Bites
Ingredients
Main Ingredients
- 13 ounce crunchy chocolate chip cookies 1 package
- 2 cups creamy peanut butter
- 1 cup powdered sugar
Instructions
Preparation Steps
- Use a food processor to finely chop the entire package of cookies. Measure 1.75 cups of cookie crumbs and place them into an electric mixing bowl. Reserve the remaining crumbs in a shallow bowl.
- Add powdered sugar to the large bowl of cookie crumbs and mix. Add in the peanut butter and mix well until combined.
- Line a baking sheet with wax paper or parchment paper and clear some space for it in the refrigerator.
- Use a tablespoon portion scoop to scoop the dough into balls. Roll each ball until smooth using your hands, then roll each ball into the reserved cookie crumbs.
- Place the coated balls on the prepared baking sheet and chill in the refrigerator for 1 hour or until firm.
- Place the cookie bites into small mini muffin paper liners and serve. Store in the refrigerator until ready to eat.
Notes
Featured Comments
“These look so good! I love how simple yet flavorful they are—definitely adding this to my weekend baking list.”
“So good! I made these last weekend and my whole apartment smelled amazing — my neighbors actually asked what I was baking!”
“Impressed! Clear steps and turned out amazing results. Perfect for busy nights.”
“New favorite here — so flavorful. crowd-pleaser was spot on.”
“Super easy and turned out amazing! My family asked for seconds. Saving this one.”
“This sweet treat was absolutely loved — the balanced really stands out. Thanks!”


So good! I made these last weekend and my whole apartment smelled amazing — my neighbors actually asked what I was baking!
These look so good! I love how simple yet flavorful they are—definitely adding this to my weekend baking list.