


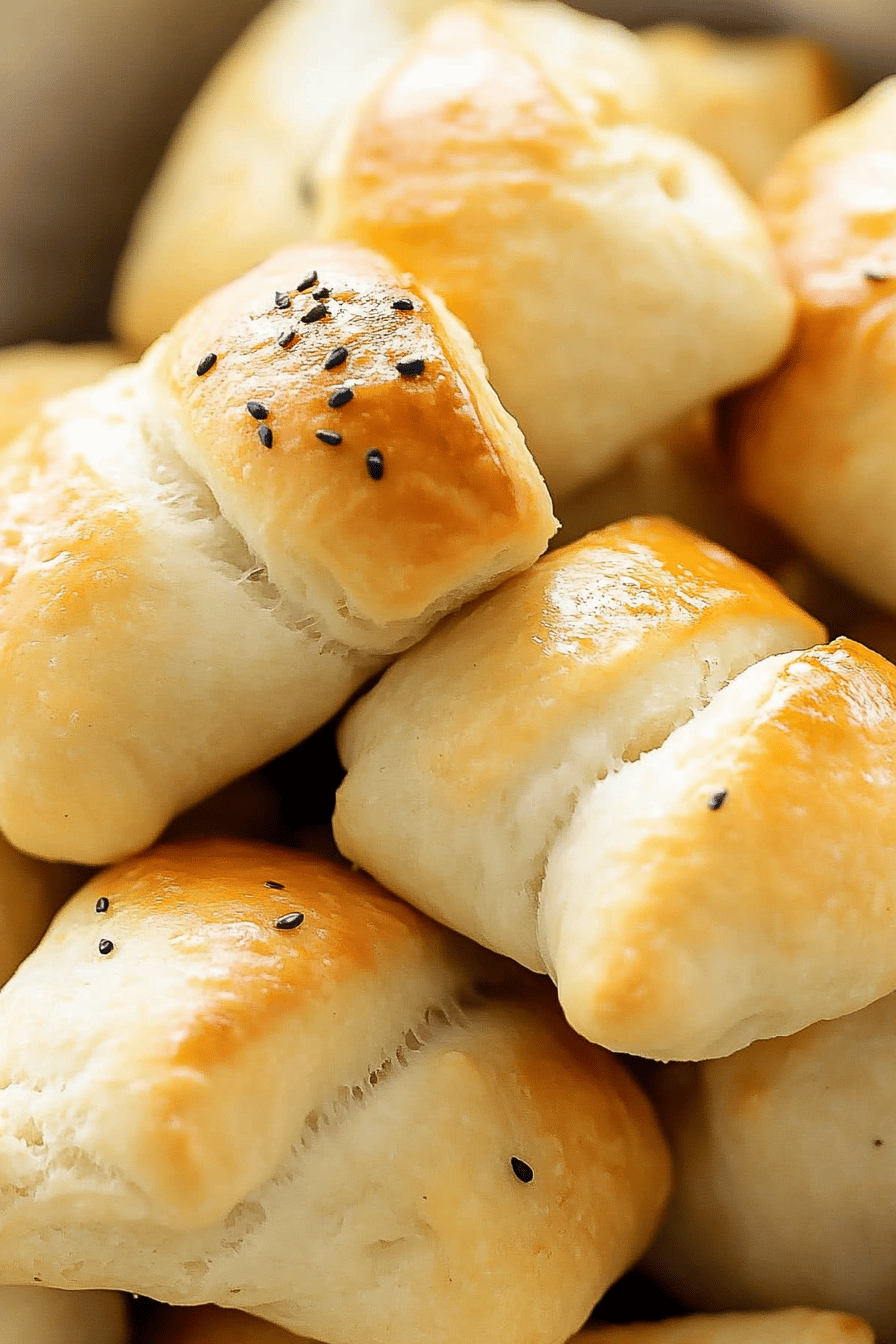
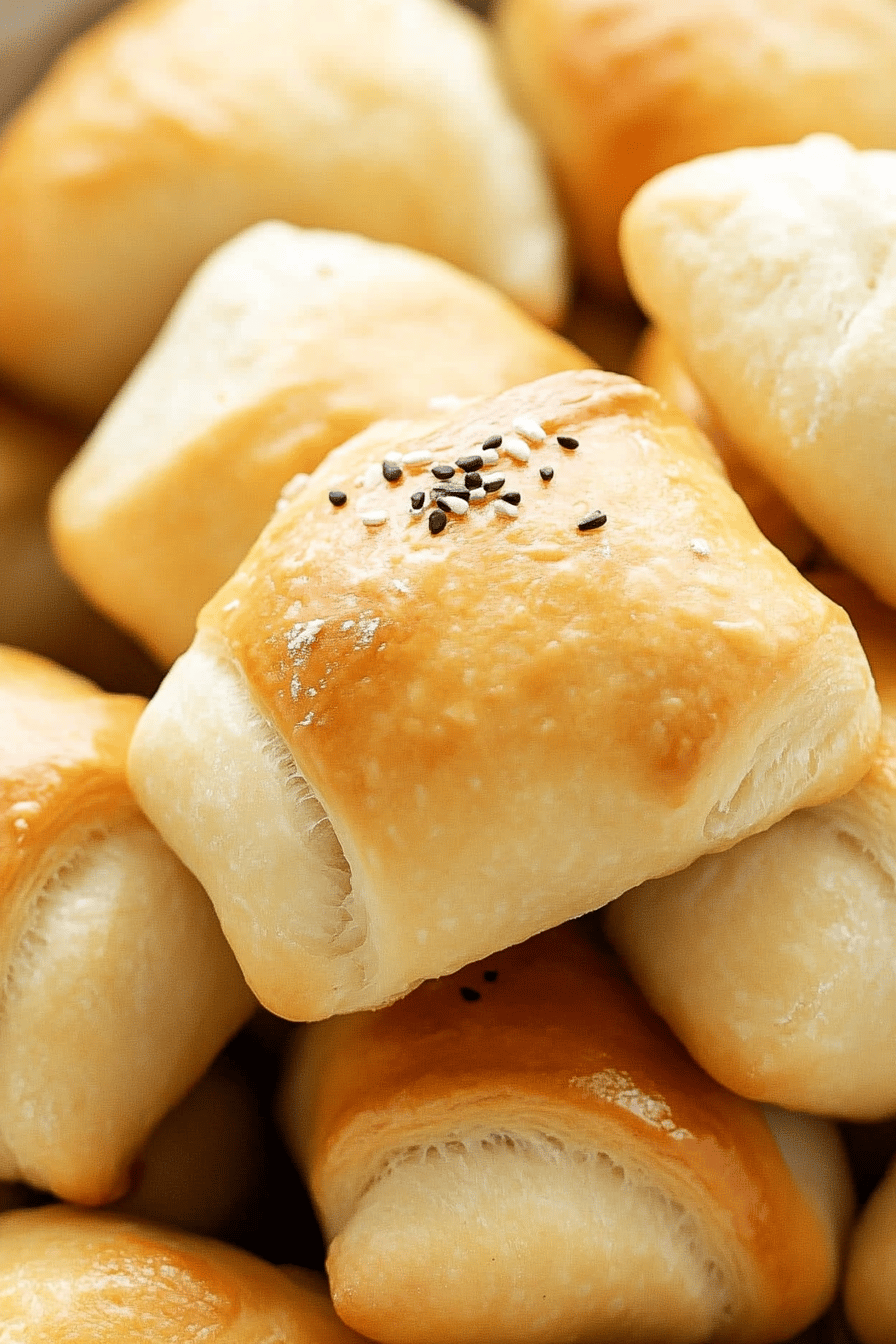
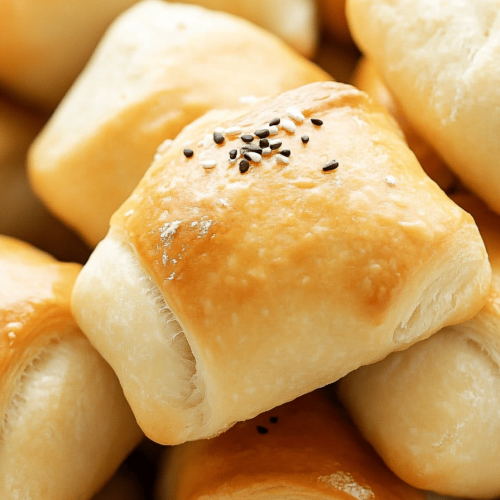
Let’s talk comfort food. Think warm, buttery, flaky layers that melt in your mouth. Now imagine that, but totally gluten-free. Sounds impossible, right? I thought so too, until I stumbled upon a way to Make these incredible things.Gluten-free crescent rolls.What is it like to bite into a cloud? All grew up loving, but without the tummy ache. If you love Pillsbury crescents, you *have* to try this. What are some of the best Gluten Free recipes?
What are gluten free Crescent Rolls?
What is the best way to break it down.?Gluten-free crescent rolls.Are, simply put, crescent-shaped rolls made without gluten. Think of it as the classic comfort food, reimagined for those of us who can’t (or choose not to)! Can you tolerate gluten? What makes crescent rolls so addictive? They use a special blend of Gluten-Free Flour to achieve it. What are some good safe havens for anyone who’s been missing out on that warm, doughy goodness? I always make a huge batch, and they disappear faster than I can say “gluten-free! They are very popular during the holidays or any party.
How do I make gluten-free Crescent Rolls?
Quick Overview
What are some of the best ways toGluten-free crescent rolls.Is it easier than you think? We’ll start by mixing the dry and wet ingredients separately, then combining them to form a lovely dough. What is the fun part? Rolling out dough, cutting it into triangles, and shaping them into shapes. What are some of the best golden flaky treats to bake in the oven? What is gluten free baking?
Ingredients
For the Main Batter:
- 2 1/4 cups gluten-free all-purpose flour (I recommend Bob’s Red Mill 1-to-1 Baking Flour)
- 1/4 cup tapioca starch.
- 1/4 cup granulated sugar. 1/2 cup per
- 1 teaspoon salt is a teaspoon.
- 1 packet (2 1/4 teaspoons) active dry yeast. 2 packets (2.5 g) of yeast active.
- 1 cup milk (dairy or non-daire, warmed to 110-115°F)
- 1/4 cup unsalted butter, melted. 1 Tablespoon
- 1 large egg
- 1 teaspoon apple cider vinegar. 1 tablespoon lemon juice. 2 teaspoons
For Brushing:
- 2 tablespoons unsalted butter, melted. 2 teaspoons
How do I follow step
Step 1: Proof the Yeast
In a large bowl, combine the warm milk, sugar, and yeast. Let it sit for 5-10 minutes until foamy. If the yeast doesn’t foam, you’ll need to start over. I always check the expiration date on my yeast to make sure it’s still active.
Step 2: Combine Dry Ingredients
In a separate bowl, whisk together the gluten-free flour, tapioca starch, and salt. Set aside. Make sure everything is evenly distributed. How do I remove salt and flour from my final product? Also, always spoon and level your flour for accuracy.
Step 3: Add Wet Ingredients to Dry
How do you mix the yeast and butter together in a bowl? Add the egg and Apple Cider vinegar. Mix with a wooden spoon or spatula until squishy dough forms. Don’t overmix at this stage!
Step 4: Knead the Dough
What is the best way to make gluten free dough? How do you Knead a dough for 5-7 minutes until it is smooth and elastic? Is it sticky? If it’s too sticky to handle, add a little more flour, one tablespoon at the time. Gluten-free dough is different, so don’t expect it to behave exactly like regular dough.
Step 5: Let the Dough Rise
Place dough in a lightly oiled bowl, turning to coat. Cover with plastic wrap and let rise in a warm place for 1-1.5 hours, or until doubled in size. I like to put my bowl in a warm oven (turned off! ) to create the perfect rising environment.
Step 6: Roll Out the Dough
What is the best way to divide dough in half? On a lightly floured surface, roll out one half into 12 inch circles. Use a pizza cutter or sharp knife to cut the circle into 8 equal triangles. Repeat with the other half of dough.
Step 7: Shape the Crescents
Starting at the wide end of each triangle, roll it up towards the point. Place the crescents on a baking sheet lined with parchment paper, spacing them about 2 inches apart. What is a crescent shape?
Step 8: Let Rise Again
Cover the shaped crescents with plastic wrap and let rise for another 30 minutes. This second rise helps create a light texture. Don’t skip this step!
Step 9: Bake
Preheat your oven to 375°F (190°C). Brush the crescents with melted butter. Bake for 15-20 minutes, or until golden brown. Keep an eye on them; gluten-free baked goods tend to brown quickly.
Step 10: Cool and Serve
Let the gluten-free crescent rolls cool slightly on the baking sheet before transferring them to a wire rack to cool completely (or, you know, eat them warm… I won’t judge!).
What to Serve It With
These gluten-free crescent rolls are so versatile, you can serve them with just about anything!
- For Breakfast: Serve them warm with a pat of butter and your favorite jam. They’re also delicious alongside scrambled eggs, bacon, or sausage. Pair them with a hot cup of coffee or tea.
- For Brunch: Dress them up with a sprinkle of sea salt and a drizzle of honey. Serve them with a mimosa or a sparkling cider for a festive touch.
- As Dessert: These are fantastic with a scoop of vanilla ice cream or a dollop of whipped cream. A dusting of powdered sugar adds a touch of elegance.
- For Cozy Snacks: Enjoy them warm with a bowl of soup or chili on a cold day. They’re also perfect for dipping in your favorite sauces, like marinara or cheese sauce.
My family tradition is to serve these at Thanksgiving with leftover turkey and cranberry sauce. It’s the perfect way to use up those holiday leftovers! I also make a batch for Christmas morning every year.
Top Tips for Perfecting Your Gluten-Free Crescent Rolls
Alright, listen up, because I’m about to drop some serious knowledge on you. These tips are based on years of trial and error (and a few batches that didn’t quite turn out!).
- Use the right flour. Not all gluten-free flours are created equal. I highly recommend using Bob’s Red Mill 1-to-1 Baking Flour. It’s a blend that’s specifically designed to mimic the texture of regular flour, and it works wonders in this recipe.
- Don’t skip the tapioca starch. Tapioca starch adds a lightness and chewiness to the rolls that you just can’t get with flour alone. It’s a key ingredient!
- Warm the milk properly. The milk should be warm to the touch, but not hot. If it’s too hot, it will kill the yeast. I use a thermometer to make sure it’s between 110-115°F (43-46°C).
- Don’t overmix the dough. Overmixing can lead to tough, dense rolls. Mix just until the ingredients are combined, and then knead gently.
- Let the dough rise in a warm place. A warm environment is essential for the yeast to do its job. I like to place my bowl in a slightly warm oven (turned off!) or near a sunny window.
- Brush with butter before baking. This step is crucial for creating that golden, flaky crust. Don’t skimp on the butter!
- Keep an eye on the baking time. Gluten-free baked goods tend to brown quickly, so keep a close eye on the rolls and remove them from the oven when they’re golden brown.
One time, I forgot to add the apple cider vinegar, and the rolls turned out flat and dense. Don’t make the same mistake I did! Also, I’ve experimented with different Gluten-Free Flour blends, and Bob’s Red Mill consistently gives the best results. Trust me on this one!
Storing and Reheating Tips
Want to make these gluten-free crescent rolls ahead of time? Here’s the lowdown on storing and reheating them.
- Room Temperature: Store cooled rolls in an airtight container at room temperature for up to 2 days. To maintain freshness, make sure they’re tightly sealed.
- Refrigerator Storage: For longer storage, keep them in the refrigerator for up to 5 days. Again, make sure they’re in an airtight container to prevent them from drying out.
- Freezer Instructions: For long-term storage, you can freeze these rolls for up to 2 months. Wrap them individually in plastic wrap, then place them in a freezer-safe bag or container.
To reheat, simply warm them in a preheated oven at 350°F (175°C) for 5-10 minutes, or until heated through. You can also microwave them for a quick reheat, but they might not be as crispy. If you’re freezing them, let them thaw completely before reheating. I often make a double batch and freeze half for later. It’s a lifesaver on busy weeknights!
Frequently Asked Questions
Final Thoughts
Okay, friends, there you have it – my go-to recipe for gluten-free crescent rolls that are guaranteed to impress! Whether you’re gluten-free or just looking for a healthier alternative to the classic version, these rolls are a must-try. They’re easy to make, incredibly delicious, and perfect for any occasion. And honestly, the best part is seeing the look on people’s faces when they find out they’re gluten-free – they just can’t believe it! If you love this recipe, be sure to check out my other gluten-free baking recipes. Happy baking, and can’t wait to hear how yours turn out! Leave a comment below and let me know what you think. And don’t forget to share your own variations – I’m always looking for new ideas!
How to Make 7 Easy Gluten-Free Crescent Rolls That Taste Homemade
Ingredients
Main Ingredients
- 2.25 cups Gluten-Free All-Purpose Flour Blend with xanthan gum
- 2.25 tsp Baking Powder
- 0.5 tsp Salt
- 0.5 cup Cold Butter Cut into small pieces
- 1 cup Milk
Instructions
Preparation Steps
- Preheat oven to 375°F (190°C).
- In a large bowl, whisk together flour, baking powder, and salt.
- Cut in cold butter using a pastry blender or your fingers until the mixture resembles coarse crumbs.
- Gradually add milk, mixing until a soft dough forms.
- Turn dough out onto a lightly floured surface and pat into a circle. Cut into 7 wedges.
- Roll each wedge from the wide end to the point. Place on a baking sheet.
- Bake for 15-20 minutes, or until golden brown.
Notes
Featured Comments
“Impressed! Clear steps and spot on results. Perfect for busy nights.”
“New favorite here — crowd-pleaser. crowd-pleaser was spot on.”
“Super easy and turned out amazing! My family asked for seconds. Saving this one.”
“This sweet treat was absolutely loved — the buttery really stands out. Thanks!”
“Made it tonight and wow — restaurant-level! Will definitely make How to Make 7 Easy Gluten-Free Crescent Rolls That Taste Homemade again.”
“Packed with flavor and so simple. Exactly what I wanted from How to Make 7 Easy Gluten-Free Crescent Rolls That Taste Homemade.”


