

You know how sometimes you just need something ridiculously decadent?Gluten-free Chubby Hubby Bars.Are my answers to that craving? Think of them as a blondie version of the decadent Ice Cream flavor we all know and love – but way way more delicious. What’s easier than churning ice cream? What are some of the best homemade chocolate chips? I swear, just the smell of baking will have everyone drooling and gathering in the kitchen. I’ve never had ice cream before, but once I had these, I was more than satisfied. Why are gluten free muffins so popular? I always make sure to have some on hand, because you never know when that craving is going to hit.
What is gluten-free Chubby Hubby Bars?
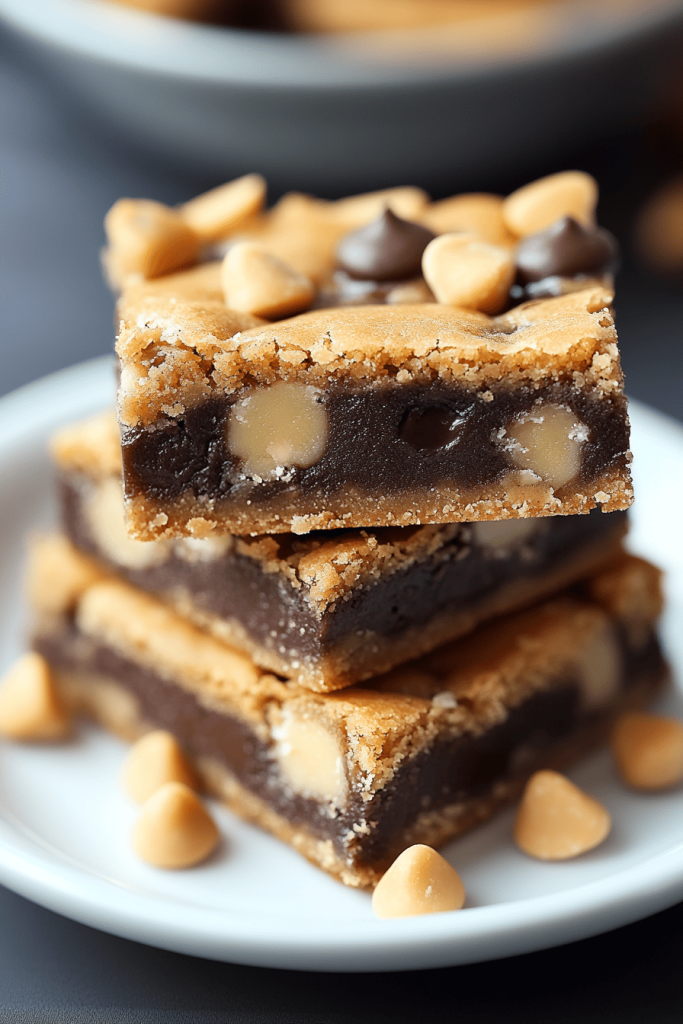
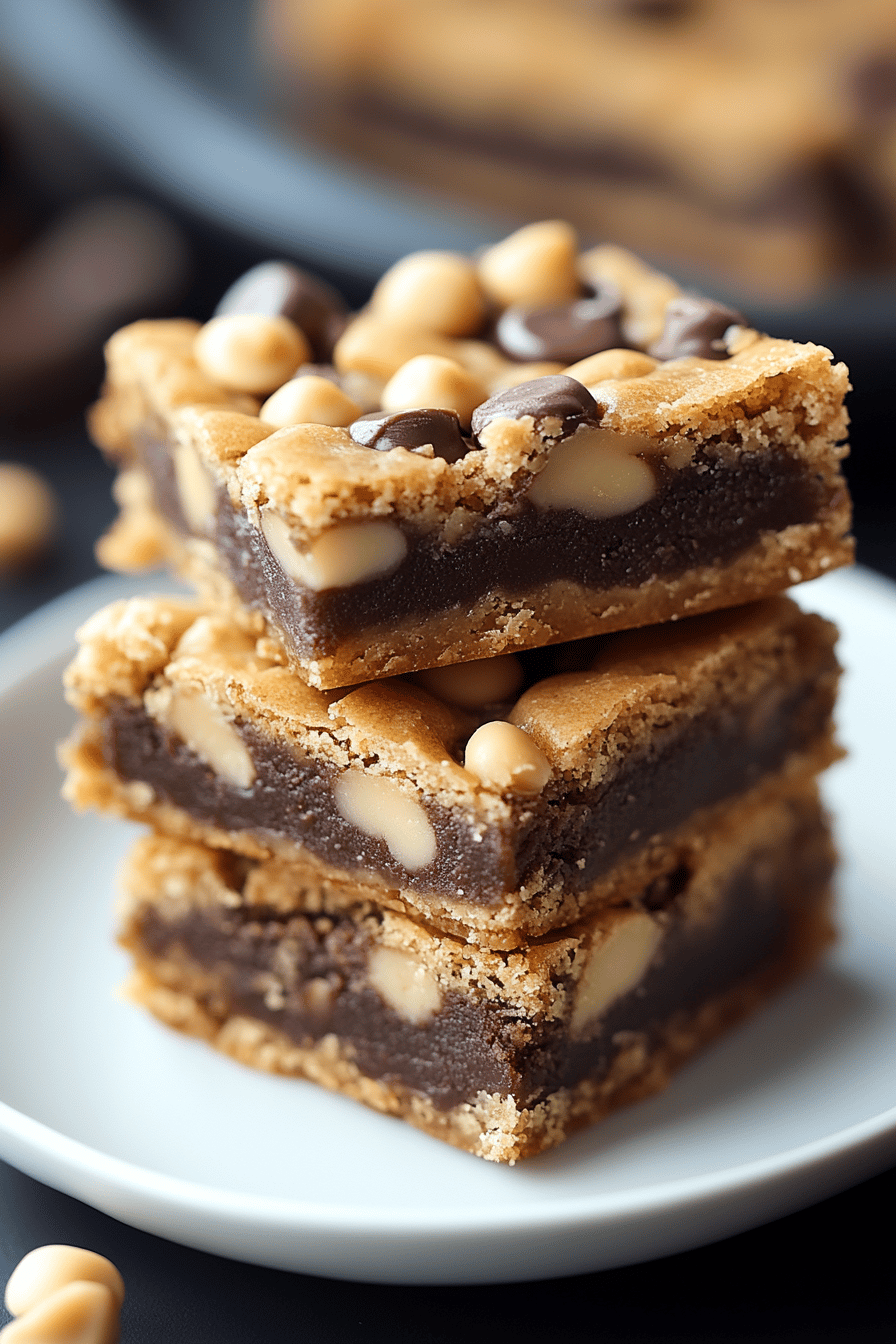
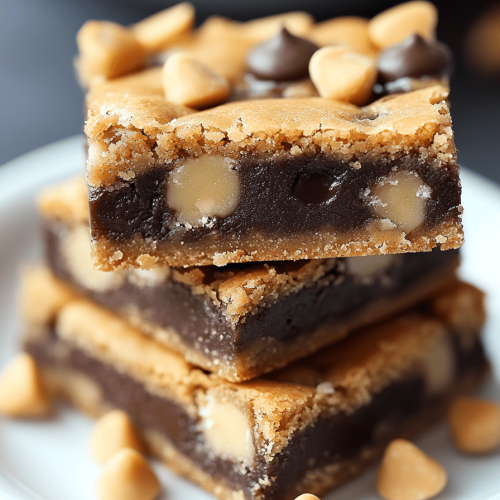
So, what *are* these magical bars, anyway? Essentially, they’re a delightful twist on a classic blondie. Think of a chewy, buttery blondie base, but instead of just vanilla, we’re swirling in a Creamy Peanut Butter, crunchy pretzels, gooey chocolate chunks, and a rich, homemade caramel. It’s like taking all the best parts of that amazing ice cream flavor and packing them into a single, satisfying bite. The gluten-free aspect just means we’re using a special blend of flours to Make them accessible to more people (and honestly, you’d never even know the difference!). It’s that combination of salty, sweet, and crunchy that makes these bars totally irresistible. My husband says they’re the perfect food and I have to admit, I agree. Plus, no ice cream maker required!
How do I make gluten-free chubby hubby bars?
Quick Overview
How do I make these bars? What’s the recipe for gluten-free blondie batter? What are some of the Best Caramel swirls made with peanut butter and pretzels? Don’t be intimidated by the caramel – it’s surprisingly easy to make at home, and the flavor is out. What’s a stress-free process? What is the baking process? Even if it’s not perfect, it is going to taste amazing. Is it really hard to mess this one up?
Ingredients
For the main battery:
* 1 cup (2 sticks) unsalted butter, melted and slightly cooled – I always use a good quality butter for the best flavor!
* 1 1/2 cups packed light brown sugar – Brown sugar adds moisture and chewiness that’s essential.
* 2 large eggs – Make sure they’re at room temperature so they incorporate easily.
* 1 teaspoon Vanilla Extract – Don’t skimp on the vanilla; it really enhances the flavor!
* 1 3/4 cups gluten-free all-purpose flour blend – I recommend one that contains xanthan gum.
* 1 teaspoon baking powder – This helps give the bars a little lift.
* 1/2 teaspoon salt – Balances out the sweetness.
For the Filling:
* 1/2 cup Creamy Peanut Butter – You can use crunchy if you prefer, but I like the smooth texture.
* 1 cup mini pretzels, roughly crushed – I usually crush them in a ziplock bag with a rolling pin.
* 1 cup chocolate chunks – I prefer dark chocolate, but milk or semi-sweet work too.
* Homemade Caramel Sauce (recipe follows) – Trust me, homemade is worth it, but store-bought works in a pinch!
For the Glaze:
* 1/2 cup granulated sugar * 1/4 cup (1/2 stick) unsalted butter * 2 tablespoons milk * 1 teaspoon salt Salt * 1 teaspoon Vanilla Extract * 1/2 teaspoon salt * 1/4 teaspoon sugar * 2 teaspoon

How do I learn to
Step 1: Preheat & Prep Pan
Preheat your oven to 350°F (175°C). Grease and line a 9×13 inch baking pan with parchment paper, leaving some overhang on the sides. What makes it super easy to lift the bars out later? How can I avoid using parchment paper?
Step 2: Mix Dry Ingredients
In a medium bowl, whisk together the Gluten-Free Flour, baking powder, and salt. Make sure everything is well combined so you don’t end up with pockets of baking powder in your bars. I always give it a good whisk for at least 30 seconds.
Step 3: Mix Wet Ingredients
In a large bowl, whisk together the melted butter and brown sugar until smooth. Add the eggs one at a time, whisking well after each addition. Then, stir in the vanilla extract. The mixture should be light and creamy. If your butter is too hot, it might cook the eggs, so make sure it’s cooled slightly.
Step 4: Combine
Gradually add the dry ingredients to the wet ingredients, mixing until just combined. Be careful not to overmix! Overmixing can lead to tough bars. I usually stop mixing when I still see a few streaks of flour and then fold them in gently with a spatula.
Step 5: Prepare Filling
Warm the Peanut Butter in the microwave for about 30 seconds, or until it’s easily spreadable. Set aside. If you’re using store-bought caramel, warm it slightly as well to make it easier to swirl.
Step 6: Layer & Swirl
Pour half of the blondie batter into the prepared pan and spread it evenly. Dollop spoonfuls of Peanut Butter and caramel over the batter. Sprinkle with crushed pretzels and chocolate chunks. Pour the remaining blondie batter over the top and spread it out as best you can. Use a knife or skewer to swirl the peanut butter and caramel throughout the batter. Don’t be afraid to get creative with your swirls!
Step 7: Bake
Bake for 25-30 minutes, or until a toothpick inserted into the center comes out with a few moist crumbs. The edges should be golden brown. Keep a close eye on them, as oven temperatures can vary. If the edges are browning too quickly, you can tent the pan with foil.
Step 8: Cool & Glaze
Let the bars cool completely in the pan before glazing. Once cooled, prepare the glaze. In a saucepan, combine sugar, butter, milk, and salt. Bring to a boil over medium heat, stirring constantly. Boil for 1 minute, then remove from heat and stir in vanilla. Pour over the cooled bars. I like to put the bars in the fridge for about 30 minutes after I glaze them so the glaze sets up nicely.
Step 9: Slice & Serve
How do you lift bars out of a pan? What are some good reasons to eat these at room temperature? What are some good ways to serve vanilla ice cream on top?
What to Serve It With
What are some ideas to take a bar to the next level?
For Breakfast:What are some good ways to start the day with a hot cup of coffee? What are some great ways to serve a bar over yogurt?
For Brunch:Serve the bars alongside a platter of fresh fruit and marmalade. What are some of the best ways to add sweetness to a brunch spread? What are some good bars to serve with a quiche?
As Dessert:How do you top a bar with extra caramel sauce? What is a simple but elegant dessert?
For Cozy Snacks: Enjoy a bar with a glass of cold milk or a cup of hot chocolate on a chilly evening. They’re the perfect comfort food! This is the perfect thing when it is cold and rainy outside.
My family loves these served with a big scoop of vanilla ice cream. It’s a fun and easy dessert that everyone enjoys. I sometimes even add a sprinkle of sea salt on top for an extra burst of flavor. It is to die for.
How do I make gluten-free chubby hubby bars?
What are some of the best tips and tricks I’ve learned over the years?Gluten-Free Chubby Hubby Bars.:
Mixing Advice:Be careful not to overmix the batter. Overmixing can develop the gluten in the flour (even gluten-free flour can get tough if overmixed), What are the advantages of a dense, tough bar? What’s the best way to serve chocolate and pretzels?
Swirl CustomizationUse a toothpick or skewer to create swirls! Is it possible to add cocoa powder to peanut butter or caramel? I love to do this around holidays!
Ingredient Swaps: You can easily customize these bars to your liking. Try using different types of chocolate, such as white chocolate or peanut butter chips. You can also add other mix-ins, such as chopped nuts, dried fruit, or sprinkles.
Baking Tips: Keep a close eye on the bars while they’re baking. Ovens can vary, so they might need a little more or less time. You’ll know they’re done when the edges are golden brown and a toothpick inserted into the center comes out with a few moist crumbs. I have to admit, it took me a few rounds before I really nailed the time on these bars in my old oven.
Glaze Variations: Feel free to experiment with different flavors for the glaze. Try adding a little espresso powder for a mocha glaze, or a dash of cinnamon for a warm and cozy flavor. You can also use a different type of extract, such as almond or maple.
I’ve also learned that using a high-quality gluten-free flour blend is key to getting the right texture. I’ve tried a few different brands, and I definitely have my favorites. Don’t be afraid to experiment until you find one that works well for you. I had a total flop one time because I used a flour that was too gritty.
Storing and Reheating Tips
Here’s How to store these bars to keep them fresh and delicious:
Room Temperature: Store the bars in an airtight container at room temperature for up to 3 days. They’ll stay nice and chewy.
Refrigerator Storage: For longer storage, keep the bars in an airtight container in the refrigerator for up to a week. Just let them come to room temperature before serving. I like to make them on Sunday and then bring them to work as a treat all week!
Freezer Instructions: For long-term storage, wrap the bars individually in plastic wrap and then place them in a freezer-safe container or bag. They can be frozen for up to 2 months. Thaw them overnight in the refrigerator or at room temperature before serving.
Glaze Timing Advice: If you’re planning to freeze the bars, it’s best to wait to glaze them until after they’ve thawed. This will prevent the glaze from getting sticky or cracking.
I’ve found that the freezer is a lifesaver when I make a big batch of these. I can just pull out a few bars whenever I need a quick and easy dessert. It’s also great for portion control!
Frequently Asked Questions
Final Thoughts
These Gluten-Free Chubby Hubby Bars are truly special. They’re easy to make, incredibly delicious, and perfect for any occasion. Whether you’re looking for a decadent dessert to share with friends or a sweet treat to enjoy all by yourself, these bars are sure to hit the spot. I can’t wait to hear how yours turn out! If you enjoyed this recipe, be sure to check out my other blondie and brownie recipes. I have a feeling you’ll find something else you love! Happy baking!
I really hope you try this recipe! I promise you will love it and will be making it over and over again like I have. Be sure to leave a comment below and tell me how your bars came out, I love hearing from you all!
How to Make 7 Incredible Chubby Hubby Bars for a Gluten-Free Treat
Ingredients
Main Ingredients
- 1.5 cup Gluten-Free All-Purpose Flour
- 0.5 cup Peanut Butter Creamy or crunchy
- 1 cup Pretzels Broken into pieces
- 0.75 cup Chocolate Chips Semi-sweet
- 1 cup Mini Marshmallows
- 0.5 cup Melted Butter
Instructions
Preparation Steps
- Preheat oven to 350°F (175°C). Grease a 9x13 inch baking pan.
- In a large bowl, combine the gluten-free flour and melted butter.
- Stir in the peanut butter, pretzels, chocolate chips, and marshmallows.
- Press the mixture evenly into the prepared baking pan.
- Bake for 25 minutes, or until golden brown.
- Let cool completely before cutting into bars.
Notes
Featured Comments
“Impressed! Clear steps and creamy results. Perfect for busy nights.”
“New favorite here — family favorite. crowd-pleaser was spot on.”
“Super easy and turned out amazing! My family asked for seconds. Saving this one.”
“This sweet treat was absolutely loved — the hearty really stands out. Thanks!”
“Made it tonight and wow — restaurant-level! Will definitely make How to Make 7 Incredible Chubby Hubby Bars for a Gluten-Free Treat again.”
“Packed with flavor and so simple. Exactly what I wanted from How to Make 7 Incredible Chubby Hubby Bars for a Gluten-Free Treat.”


