

Oh, hello there! Come on in, grab a mug. I was just thinking about these Peanut Butter Cookies, and honestly, I can’t keep them to myself any longer. They’re the kind of cookie that takes me right back to my grandma’s kitchen, the air thick with that sweet, nutty aroma. They’re not just cookies; they’re pure comfort, little disks of joy that practically melt in your mouth. Whenever I need a serious pick-me-up, or when unexpected guests pop by (which happens more often than you’d think!), these are my absolute go-to. They’re so ridiculously simple, yet they deliver a flavor punch that’s way beyond their humble ingredients. Honestly, if you’re looking for that perfect, classic peanut butter cookie, the kind with that signature criss-cross pattern and a soft, chewy center, well, you’ve found it. Forget those overly complicated recipes; this one is a lifesaver.

What are some of the best peanut butter cookies?
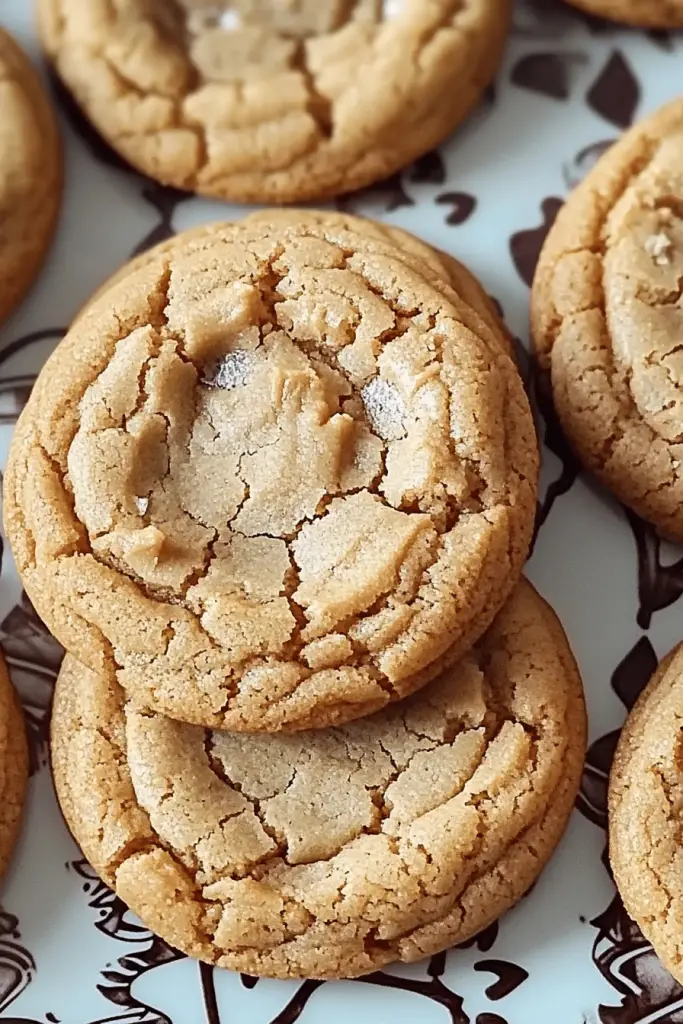
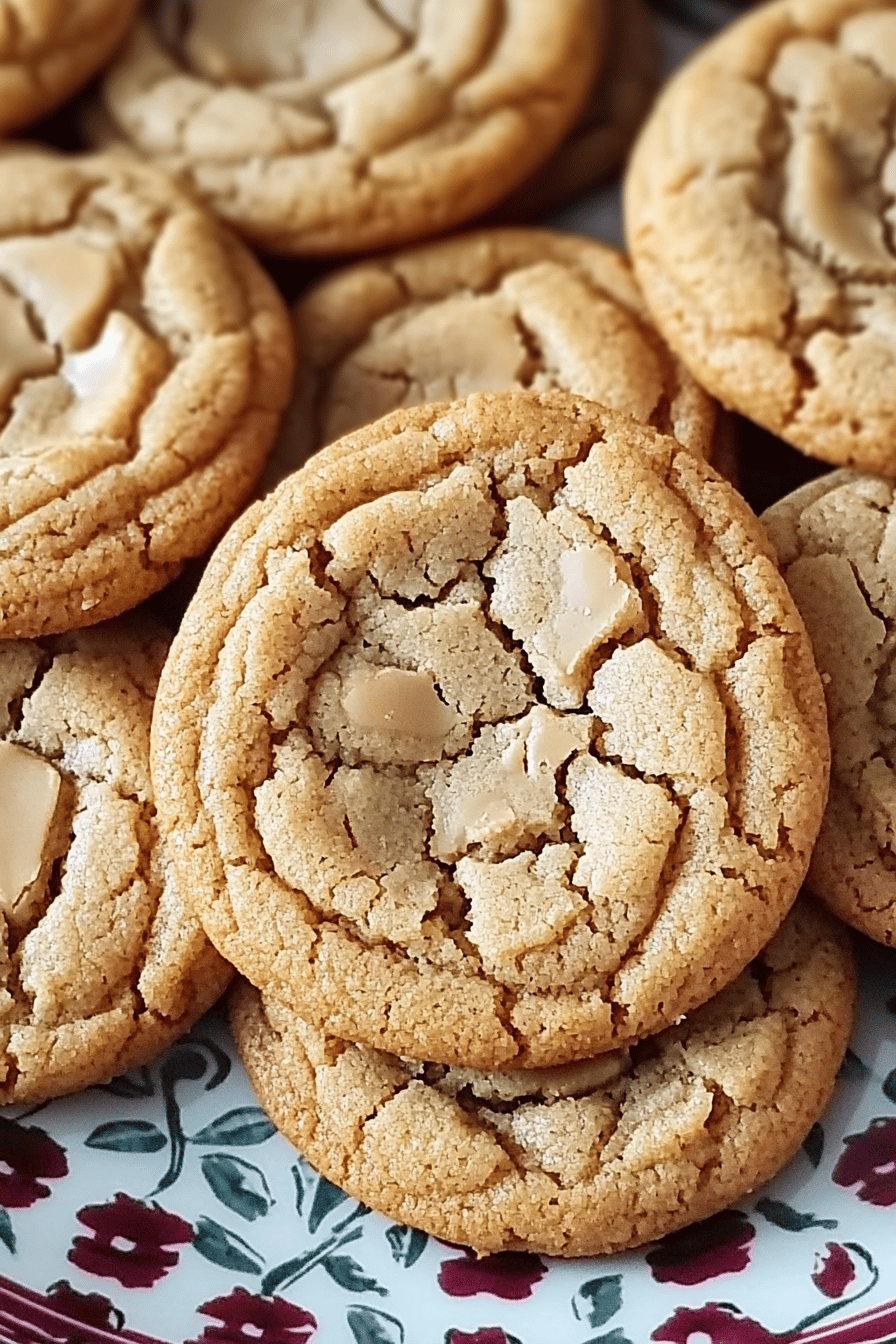
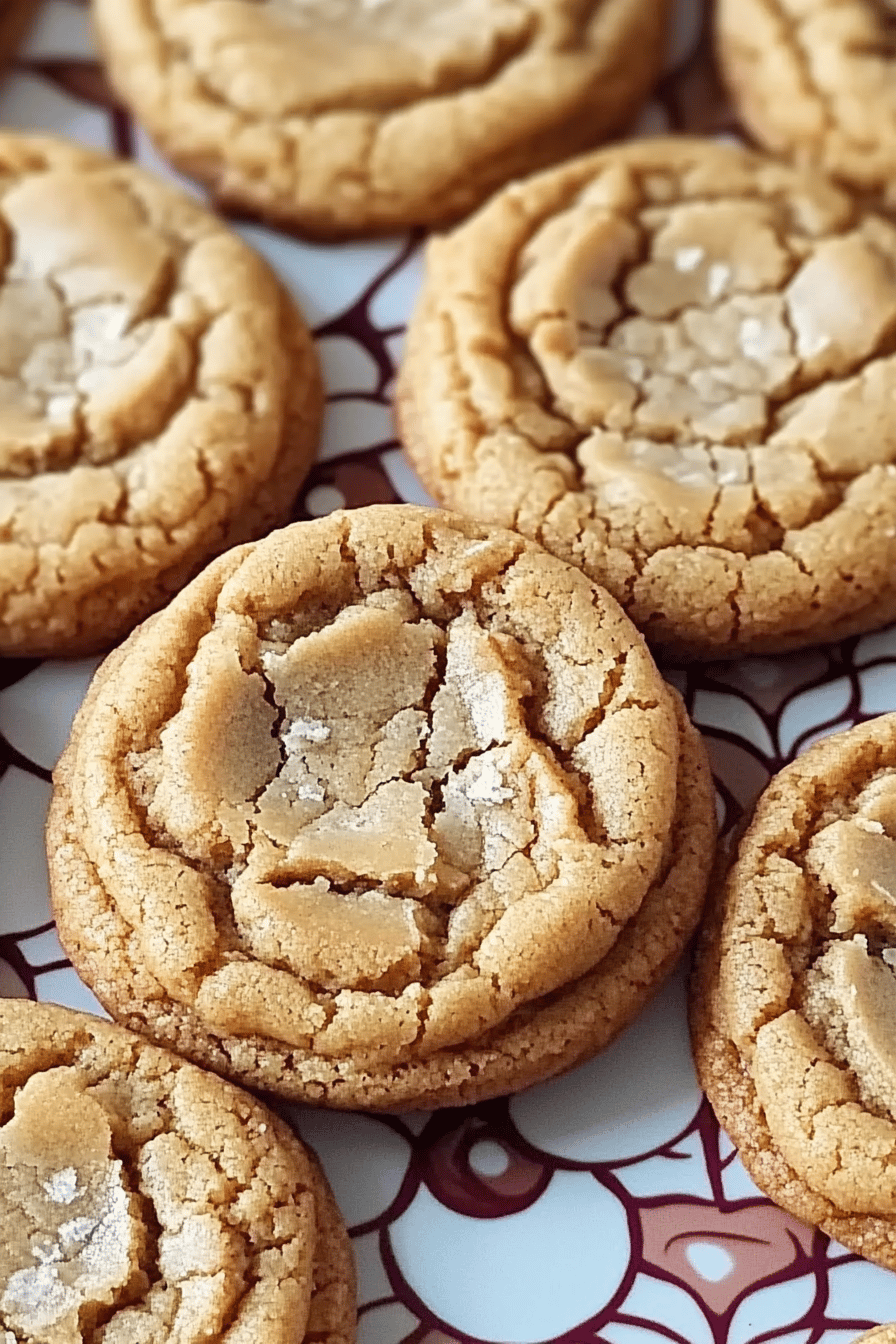
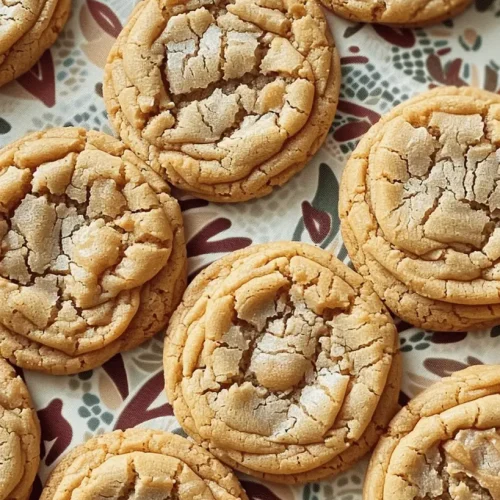
So, what exactly are these magical little rounds? Think of them as the quintessential Peanut Butter cookie. They’re soft, chewy, and packed with that unmistakable, rich peanut butter flavor that we all crave. What sets them apart, really, is their texture – they have a slight crisp edge that gives way to a wonderfully tender middle. The classic fork-pressed criss-cross pattern isn’t just for looks, although it does make them look incredibly appealing, right? It actually helps them bake evenly and gives you that satisfying texture. They’re essentially a warm hug in cookie form, and that’s why they’re a staple in my baking rotation. They’re not fussy, they don’t require fancy equipment, and they always, always turn out perfectly. It’s that simple goodness that makes them so darn lovable.
How do I make peanut butter cookies?
Quick Overview
This recipe is wonderfully straightforward. We’ll start by creaming together butter and sugars, then adding our Peanut Butter and eggs. The dry ingredients are whisked together and then gently combined with the wet. We’ll then chill the dough slightly before forming balls, pressing them with a fork, and baking them to golden perfection. It’s a simple, no-fuss process that guarantees chewy, flavorful cookies every single time. What makes this method special is the focus on not overmixing, which is key to that perfect chewy texture, and the slight chill time that helps the flavors meld and prevents the cookies from spreading too much.
Ingredients
For the Main Batter:
You’ll need 1 cup (2 sticks) unsalted butter, softened. Make sure it’s truly softened, not melted! This is crucial for that fluffy texture. Then, 1 cup of granulated sugar and 1 cup of packed light brown sugar. The combination gives us that perfect balance of sweetness and chewiness. Next up, 1 cup of Creamy Peanut Butter. I prefer using standard creamy peanut butter here, the kind that’s just peanuts and salt, as it gives the best flavor. Avoid natural peanut butters that have separated, as they can make the dough too oily. Two large eggs, at room temperature, bind everything together beautifully. And don’t forget 1 teaspoon of pure vanilla extract – it really enhances all those lovely flavors. For the dry ingredients, we have 2 ½ cups all-purpose flour, 1 teaspoon baking soda, and ½ teaspoon salt. Make sure your baking soda is fresh; old baking soda can lead to flat cookies!
For the Swirl Pattern:
This isn’t really a separate ingredient, but rather a technique! We’ll use the tines of a fork to create that signature criss-cross pattern. It’s super simple and adds that classic visual appeal.
For Optional Glaze:
If you love a little extra something, you can whip up a simple glaze. Whisk together 1 cup powdered sugar, 1 to 2 tablespoons milk (or even a little heavy cream for richness), and ½ teaspoon vanilla extract. Add milk a tablespoon at a time until you reach your desired drizzle consistency. You can also add a little extra peanut butter to this glaze for an even more intense peanut butter hit!
Step-by-Step Instructions
Step 1: Preheat & Prep Pan
First things first, let’s get that oven preheated to 375 degrees Fahrenheit (190 degrees Celsius). This ensures your cookies bake evenly from the moment they go in. While the oven is heating up, grab your baking sheets and line them with parchment paper or silicone baking mats. This is my little secret for easy cleanup and for ensuring the cookies don’t stick. No one wants to scrape cookies off a pan!
Step 2: Mix Dry Ingredients
In a medium bowl, whisk together your 2 ½ cups of all-purpose flour, 1 teaspoon of baking soda, and ½ teaspoon of salt. Whisking them together thoroughly before adding them to the wet ingredients helps distribute the leavening agent and salt evenly, ensuring every cookie has the same great flavor and rise. This step is quick but important for consistency!
Step 3: Mix Wet Ingredients
In a large bowl, cream together your softened 1 cup of unsalted butter with the 1 cup of granulated sugar and 1 cup of packed light brown sugar. Beat them with an electric mixer (or a whisk and some serious arm power!) until light and fluffy. This process, called creaming, incorporates air, which is key to a tender cookie. Then, beat in your 1 cup of creamy peanut butter until well combined. Next, add your 2 room-temperature large eggs, one at a time, beating well after each addition. Finally, stir in 1 teaspoon of pure vanilla extract.
Step 4: Combine
Now it’s time to bring everything together. Gradually add your dry ingredients to the wet ingredients, mixing on low speed or by hand just until combined. Be careful not to overmix! Overmixing develops the gluten in the flour too much, which can lead to tough cookies. You want to see just a few streaks of flour remaining; the dough will come together as you shape it.
Step 5: Prepare Filling
This step is really for when you’re making a swirled cookie, but for these classic peanut butter cookies, the “filling” is simply the cookie itself! The magic happens when we create the pattern. If you wanted to add a surprise center, you’d prepare it here – maybe some chocolate chips, a bit of caramel, or even a dollop of jam. But for the classic version, we just need the dough.
Step 6: Layer & Swirl
Here’s where the fun begins! Scoop rounded tablespoons of dough onto your prepared baking sheets, leaving about 2 inches between each cookie to allow for spreading. Now, take your fork and press down gently on each dough ball, creating that iconic criss-cross pattern. I like to press in one direction, then rotate the cookie 90 degrees and press again. This not only looks pretty but also helps the cookies bake evenly.
Step 7: Bake
Bake for 9 to 11 minutes, or until the edges are lightly golden brown and the centers still look slightly soft. They’ll continue to cook a bit on the hot baking sheet after you take them out of the oven. Resist the urge to overbake them – that’s the secret to that perfect chewy texture. If you’re unsure, you can gently press one with your finger; it should feel set but still slightly yielding.
Step 8: Cool & Glaze
Let the cookies cool on the baking sheets for about 5 minutes. This is crucial for them to firm up before you move them. Then, carefully transfer them to a wire rack to cool completely. If you’re using the optional glaze, now is the time to drizzle it over the cooled cookies. Make sure they’re fully cooled, or the glaze will just melt right off!
Step 9: Slice & Serve
Once cooled (and glazed, if you chose to!), these peanut butter cookies are ready to be enjoyed. They’re best served at room temperature. You can slice them in half if you want a smaller treat, or just dive in whole. They look beautiful stacked on a plate, and the aroma alone is enough to make everyone gather around.
What to Serve It With
These peanut butter cookies are so versatile, they truly go with almost anything! For breakfast, they’re a delightful treat alongside a hot cup of coffee or tea. Imagine starting your day with that comforting nutty flavor – it’s pure bliss. For a more indulgent brunch spread, I love to arrange them on a platter with some fresh fruit and maybe a small bowl of whipped cream for dipping. They add a lovely, homemade touch to any gathering. As a dessert, well, they’re just divine. They’re fantastic on their own, but they’re also incredible alongside a scoop of vanilla ice cream for an instant ice cream sandwich, or crumbled over a warm brownie. For those cozy snack moments, nothing beats a classic peanut butter cookie with a tall glass of cold milk. It’s a childhood favorite for a reason! My family has a tradition of having one (or two!) with hot chocolate on a chilly evening. It’s just the perfect combination of sweet and comforting.
Top Tips for Perfecting Your Peanut Butter Cookies
Over the years, I’ve picked up a few tricks that make these peanut butter cookies consistently amazing. For the dough, make sure your butter is truly softened to room temperature – not melted or hard. If it’s too cold, it won’t cream properly, and if it’s melted, your cookies will spread too much. When you’re mixing the dry and wet ingredients, gentle is key. Resist the urge to overmix; stop as soon as you don’t see much dry flour. A few streaks are fine because the dough will come together as you roll it. This is probably the biggest secret to getting that perfect chewy texture! I also find that chilling the dough for at least 30 minutes before baking can make a noticeable difference. It helps the flavors meld and firms up the fat, which prevents excessive spreading. For the fork press, don’t go too deep, you just want to create that pattern without flattening the cookie too much. If you’re not a fan of the fork press, you can also roll the dough balls in granulated sugar before baking for a slightly crisper exterior. If you want to swap out the peanut butter, I’ve found that almond butter works well, though it will slightly change the flavor profile. For ingredient swaps, if you need to make these dairy-free, you can use a good quality vegan butter substitute and ensure your peanut butter is dairy-free. For a richer cookie, a touch of molasses added with the brown sugar can deepen the flavor. When it comes to baking, oven temperatures can vary, so keep an eye on your cookies. They should look slightly underdone in the center when you pull them out; they’ll continue to bake on the hot sheet. If your cookies tend to spread too much, try chilling the dough for longer, or even for an hour. And for the glaze, if it’s too thick, add a tiny bit more milk, a teaspoon at a time, until it’s drizzly. If it’s too thin, whisk in a little more powdered sugar.
Storing and Reheating Tips
Proper storage is key to keeping these peanut butter cookies delicious for as long as possible, though let’s be honest, they rarely last long in my house! At room temperature, they’ll stay fresh in an airtight container for up to 3-4 days. Make sure they are completely cooled before storing, otherwise, they can get soggy. If you’re planning to keep them for longer, the refrigerator is your best bet. In an airtight container in the fridge, they can last for about a week. They might become a bit firmer, but they’ll still be wonderfully tasty. For longer-term storage, freezing is an excellent option. You can freeze the baked cookies for up to 3 months. Wrap them tightly in plastic wrap, then place them in a freezer-safe bag or container. To reheat, you can simply let them thaw at room temperature, or pop them in a warm oven (around 300°F or 150°C) for a few minutes to bring back that fresh-baked warmth and texture. If you’ve glazed your cookies, it’s generally best to add the glaze right before serving if you plan to store them for more than a day, as the glaze can sometimes soften or become sticky over time. For unfrozen cookies, room temperature is usually best for eating, but a quick zap in the microwave for 10-15 seconds can revive them if they’ve been stored for a day or two.
Frequently Asked Questions
Final Thoughts
So there you have it – my tried-and-true recipe for the most wonderful peanut butter cookies you’ll ever make. They’re simple, they’re incredibly satisfying, and they carry that lovely nostalgic charm that makes baking so special. I really hope you give them a try. They’re more than just a recipe; they’re a little slice of happiness that you can bake yourself. If you love these, you might also enjoy my Chewy Chocolate Chip Cookies or my Soft Sugar Cookies – they’re all part of my comfort baking collection. I can’t wait to hear how yours turn out! Please leave a comment below and let me know your experience, or share any fun variations you try. Happy baking, my friends!
Peanut Butter Cookies
Ingredients
Main Ingredients
- 0.75 cup unsalted butter softened
- 1 cup peanut butter creamy or crunchy
- 0.75 cup granulated sugar
- 0.75 cup packed brown sugar
- 1 large egg
- 1 teaspoon vanilla extract
- 1.5 cup all-purpose flour
- 0.5 teaspoon baking soda
- 0.5 teaspoon salt
Instructions
Preparation Steps
- Preheat oven to 375°F (190°C). Line baking sheets with parchment paper.
- In a large bowl, cream together the softened butter and peanut butter until smooth.0.75 cup unsalted butter
- Add the granulated sugar and brown sugar and beat until light and fluffy.0.75 cup unsalted butter
- Beat in the egg and vanilla extract until well combined.0.75 cup unsalted butter
- In a separate bowl, whisk together the flour, baking soda, and salt.0.75 cup unsalted butter
- Gradually add the dry ingredients to the wet ingredients, mixing until just combined. Do not overmix.
- Roll dough into 1-inch balls and place them about 2 inches apart on the prepared baking sheets.
- Use a fork to press down on each cookie in a crisscross pattern.
- Bake for 10-12 minutes, or until the edges are lightly golden brown and the centers are still slightly soft.
- Let the cookies cool on the baking sheets for a few minutes before transferring them to a wire rack to cool completely.
Notes
Featured Comments
“Impressed! Clear steps and crowd-pleaser results. Perfect for busy nights.”
“New favorite here — quick weeknight win. crowd-pleaser was spot on.”
“Super easy and turned out amazing! My family asked for seconds. Saving this one.”
“This sweet treat was absolutely loved — the rich really stands out. Thanks!”
“Made it tonight and wow — perfect for busy nights! Will definitely make Peanut butter cookies again.”
“Packed with flavor and so simple. Exactly what I wanted from Peanut butter cookies.”


