


Okay, friends, let’s talk biscuits.anyWhat is the world of biscuits?Gluten-Free Drop biscuits.Is gluten-free a good idea? And I’m here to tell you, wholeheartedly, YES! Are these biscuits Gluten Free? What are some of the best traditional biscuits? Think of them as the easier, slightly less fussy cousin of scones – and trust me, once you try them, you’ll be hooked. You’ll be hooked. I swear, I can smell my grandmother’s kitchen when I bake these. What’s so comforting about a warm biscuit?
What is gluten free drop biscuits?
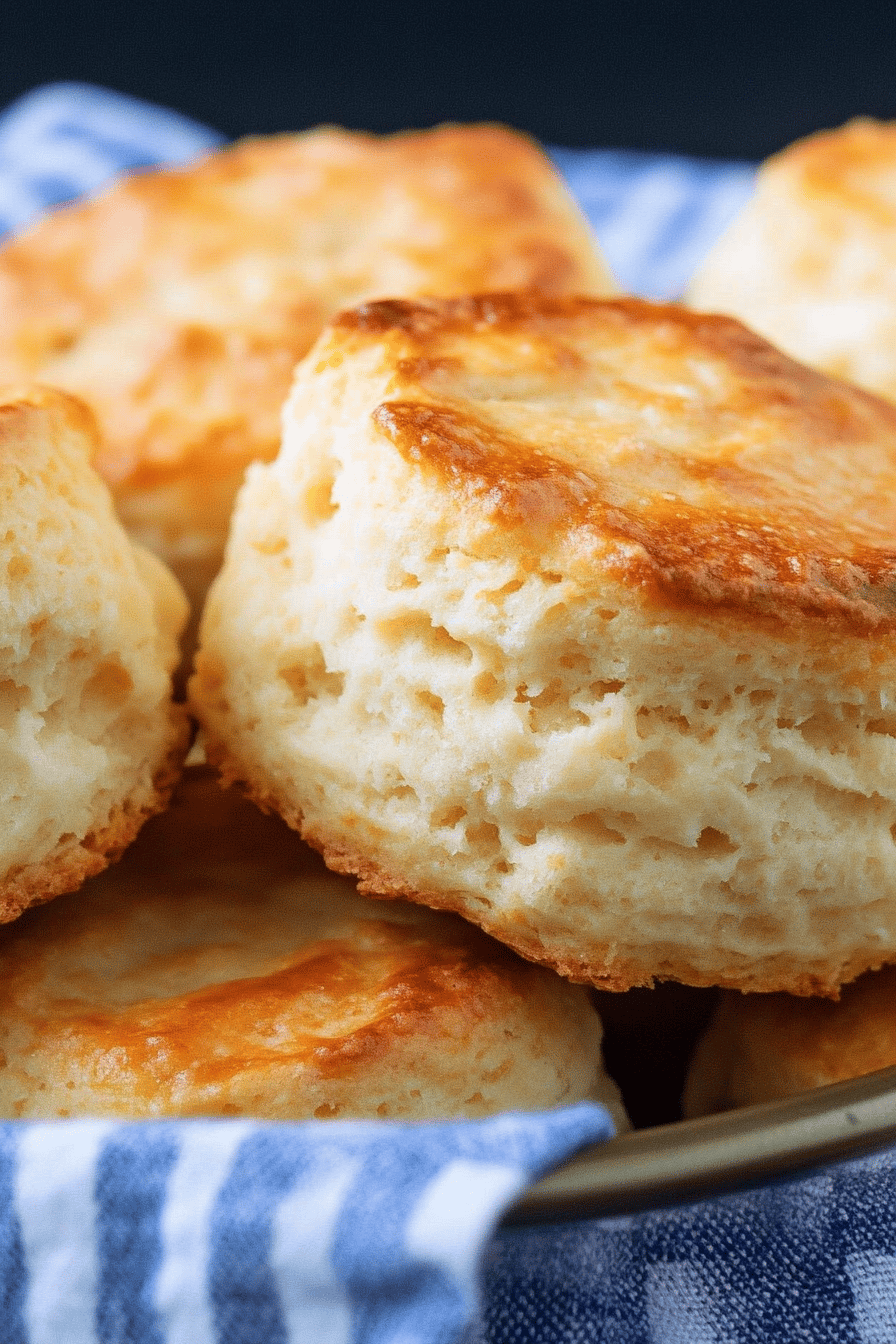
What is the exact meaning of “whatareWhat is gluten free drop biscuits? Unlike biscuits, which require rolling and cutting, these are literally dropped onto a rolling pin. Think of it as a biscuit batter that’s just thick enough to hold its shape. Is this a shortcut to biscuit heaven? Still want that home-baked comfort? Because there is less handling, the Gluten-Free Flour Blend isn’t overworked, giving them a softer taste. Beautiful soft texture. Is that the kind of magic every home baker needs in their repertoire? Those days when you just want something warm and comforting without all the fuss. What’s the best part? They’re totally customizable.
How do I make gluten-free biscuits?
Quick Overview
Making these Gluten-free drop biscuits.Is really a breeze. You’ll simply whisk together your dry ingredients, then stir in your wet ingredients until just combined. Do not overbake the batter. Drop a spoonful of batter onto sprayed baking sheet and bake until golden brown. What is the magic of not overmixing the batter? What keeps biscuits tender? What sets these apart is the incredible rise you get, despite being gluten-free. What do you like about biscuits? Is it worth it to try it?
Ingredients
For the Main Batter:
* 2 cups gluten-free all-purpose Flour Blend (make sure it contains xanthan gum! ) – I prefer Bob’s Red Mill 1-to-1 Baking Flour. * 1 tablespoon baking powder – make sure it’s fresh! * 1/2 teaspoon salt – sea salt or kosher salt works great. * 1/4 cup cold unsalted butter, cut into small cubes – the colder, the better! What is the key for flaky biscuits? * 1 cup milk – I’ve tested this with almond milk and it actually made it even better. * 1 tablespoon apple cider vinegar – this helps create a tangy buttermilk-like effect.
What are the steps to
Step 1: Preheat & Prep Pan
Preheat your oven to 425°F (220°C). Line a baking sheet with parchment paper. How do I remove biscuits from my mouth?
Step 2: Mix Dry Ingredients
In a large bowl, whisk together the gluten-free flour, baking powder, and salt. Set aside. Make sure everything is evenly distributed. This is important for consistent rising.
Step 3: Cut in the Cold Butter
Add the cold, cubed butter to the dry ingredients. Using a pastry blender or your fingertips, cut the butter into the flour mixture until it resembles an egg. Don’t overwork it! You want little pockets of butter to create flakiness.
Step 4: Add Milk and Apple Cider Vinegar
Add the milk and Apple Cider vinegar to a small bowl. Stir until just combined. What should I do if my batter is lumpy?
Step 5: Drop Biscuits
Using a large spoon or Ice Cream scoop, drop spoonfuls of the batter onto the prepared baking sheet. About 2 inches apart. They don’t have to be perfect circles.
Step 6: Bake
Bake for 12-15 minutes, or until the biscuits are golden brown on top. Keep a close eye on them, as baking times can vary depending on your oven.
Step 7: Cool & Serve
Let the biscuits cool on the baking sheet for a few minutes before transferring them to the wire rack. Serve warm with your favorite toppings.
What should I serve it with?
These Gluten-free drop biscuits.I love breakfast, and I serve them with scrambled eggs and bacon. What makes a cookie special? What are some ideas for a biscuit bar for brunch? Think homemade jams, flavored butters and even some savory options like smoked salmon or avocado. As a dessert, these biscuits are fantastic with fresh berries and Whipped Cream. Is it like a deconstructed strawberry shortcake? What’s a good snack with tea? My family has a tradition of making these on Sunday mornings, and the smell alone brings everyone together. Is it okay to run to the kitchen?
How do I make gluten-free biscuits?
Okay, let’s talk tips. Because even the easiest recipes can benefit from a little extra know-how, right? First, the butter. I can’t stress this enough: keep it COLD. Seriously, pop it in the freezer for 10-15 minutes before you start. Those little pockets of cold butter are what create that beautiful flakiness. Mixing advice? Less is more! Overmixing gluten-free flour can lead to tough biscuits. Stir just until the ingredients are combined. A few lumps are your friend. Ingredient swaps? You can definitely experiment with different types of milk. I’ve used almond milk, coconut milk, and even oat milk, all with great results. Just be sure to use unsweetened versions. And baking tips? Keep an eye on your oven! Baking times can vary, so start checking for doneness around 12 minutes. You want them to be golden brown, but not burnt. Learned this one the hard way after a few batches that went a little too dark on the bottoms. Also, I always do this, make sure to measure your flour correctly! Spoon the flour into your measuring cup and level it off with a knife. Scooping directly from the bag can pack the flour down, leading to dry biscuits. Trust me on this one!
What are some Tips for Storing and Reheating
How do I enjoy these videos?Gluten-free drop biscuits.What is the best way to find At room temperature, these biscuits will stay fresh for about 1-2 days in an airtight container. If you want to store them for longer, pop them in the refrigerator for up to a week. For long-term storage, the freezer is your best bet. Wrap the biscuits individually in plastic wrap and place them in a freezer bag. Is it possible to keep them for up to 2 months? When you’re ready to reheat, you can thaw them in the refrigerator overnight or microwave them for a few minutes. For the best results, I recommend reheating them in a preheated oven at 350°F (175°C) for about 5-10 minutes. How can I get rid of my crispy exterior? If you’re planning to freeze them, I’d skip adding any glaze until after they’ve been reheated.
What are some frequently asked questions?
Final Thoughts
So there you have it – my go-to recipe for the easiest and most delicious gluten-free drop biscuits you’ll ever make! They’re quick, they’re easy, and they’re guaranteed to be a crowd-pleaser. Whether you’re gluten-free or not, these biscuits are a must-try. They’re perfect for breakfast, brunch, or even a cozy snack. And if you love this recipe, be sure to check out my other gluten-free baking recipes. I have tons of goodies to share! Happy baking, friends! Can’t wait to hear how yours turn out. Leave a comment below and let me know what you think. And don’t forget to share your own variations – I’m always looking for new ideas!

gluten-free drop biscuits
Ingredients
Main Ingredients
- 2.5 cups gluten-free all-purpose flour I used Bob's Red Mill
- 2 tsp baking powder
- 0.5 tsp salt
- 0.25 cup cold unsalted butter cut into cubes
- 1 cup milk
Instructions
Preparation Steps
- Preheat oven to 450°F (232°C). Line a baking sheet with parchment paper.
- In a large bowl, whisk together the gluten-free flour, baking powder, and salt.
- Cut in the cold butter using a pastry blender or your fingers until the mixture resembles coarse crumbs.
- Add the milk and stir until just combined. Do not overmix.
- Drop spoonfuls of the dough onto the prepared baking sheet.
- Bake for 12-15 minutes, or until golden brown.
Notes
Featured Comments
“Impressed! Clear steps and super easy results. Perfect for busy nights.”
“New favorite here — quick weeknight win. crowd-pleaser was spot on.”
“Super easy and turned out amazing! My family asked for seconds. Saving this one.”
“This sweet treat was absolutely loved — the light really stands out. Thanks!”
“Made it tonight and wow — crowd-pleaser! Will definitely make How to Whip Up 6 Scrumptious Gluten-Free Drop Biscuits in 20 Minutes! again.”
“Packed with flavor and so simple. Exactly what I wanted from How to Whip Up 6 Scrumptious Gluten-Free Drop Biscuits in 20 Minutes!.”


